How-To: Growing Soft-Neck Garlic

How-To: grow soft-neck garlic
For long-term storage At Home
We are not far from Gilroy, California - the "Garlic Capital Of The World" - where garlic scents the air and there's no escaping it as you drive past on the freeway. Annually, they host a Garlic Festival where you can try foods like garlic flavored soft-serve ice cream, though it's not my favorite. I'd much rather have raw/roasted garlic with Korean BBQ, or use it to flavor pasta sauces and other recipes, though it's still fun to visit.
For whatever reason, growing garlic intimidated me, until some sprouted in my pantry and I just didn't feel like cooking with it... I decided to plunk the sprouting cloves in some vacant containers I had laying around and waited to see what happened... From beginning-to-end, this is how we grew garlic for the first time in our container garden!

It's easy to sprout your own garlic in a container garden...
Can you believe this green sprout appeared in just 2 days after having been put into the soil? It is amazing how Mother Nature quickly gets to work in the garden. We put the cloves in-ground on March 10th, 2018 and this image was taken on March 12th, 2018. These garlic cloves were determined to GROW!
Make sure you have at least 4" spacing in between each clove you plant to make sure they have room to properly form bulbs.

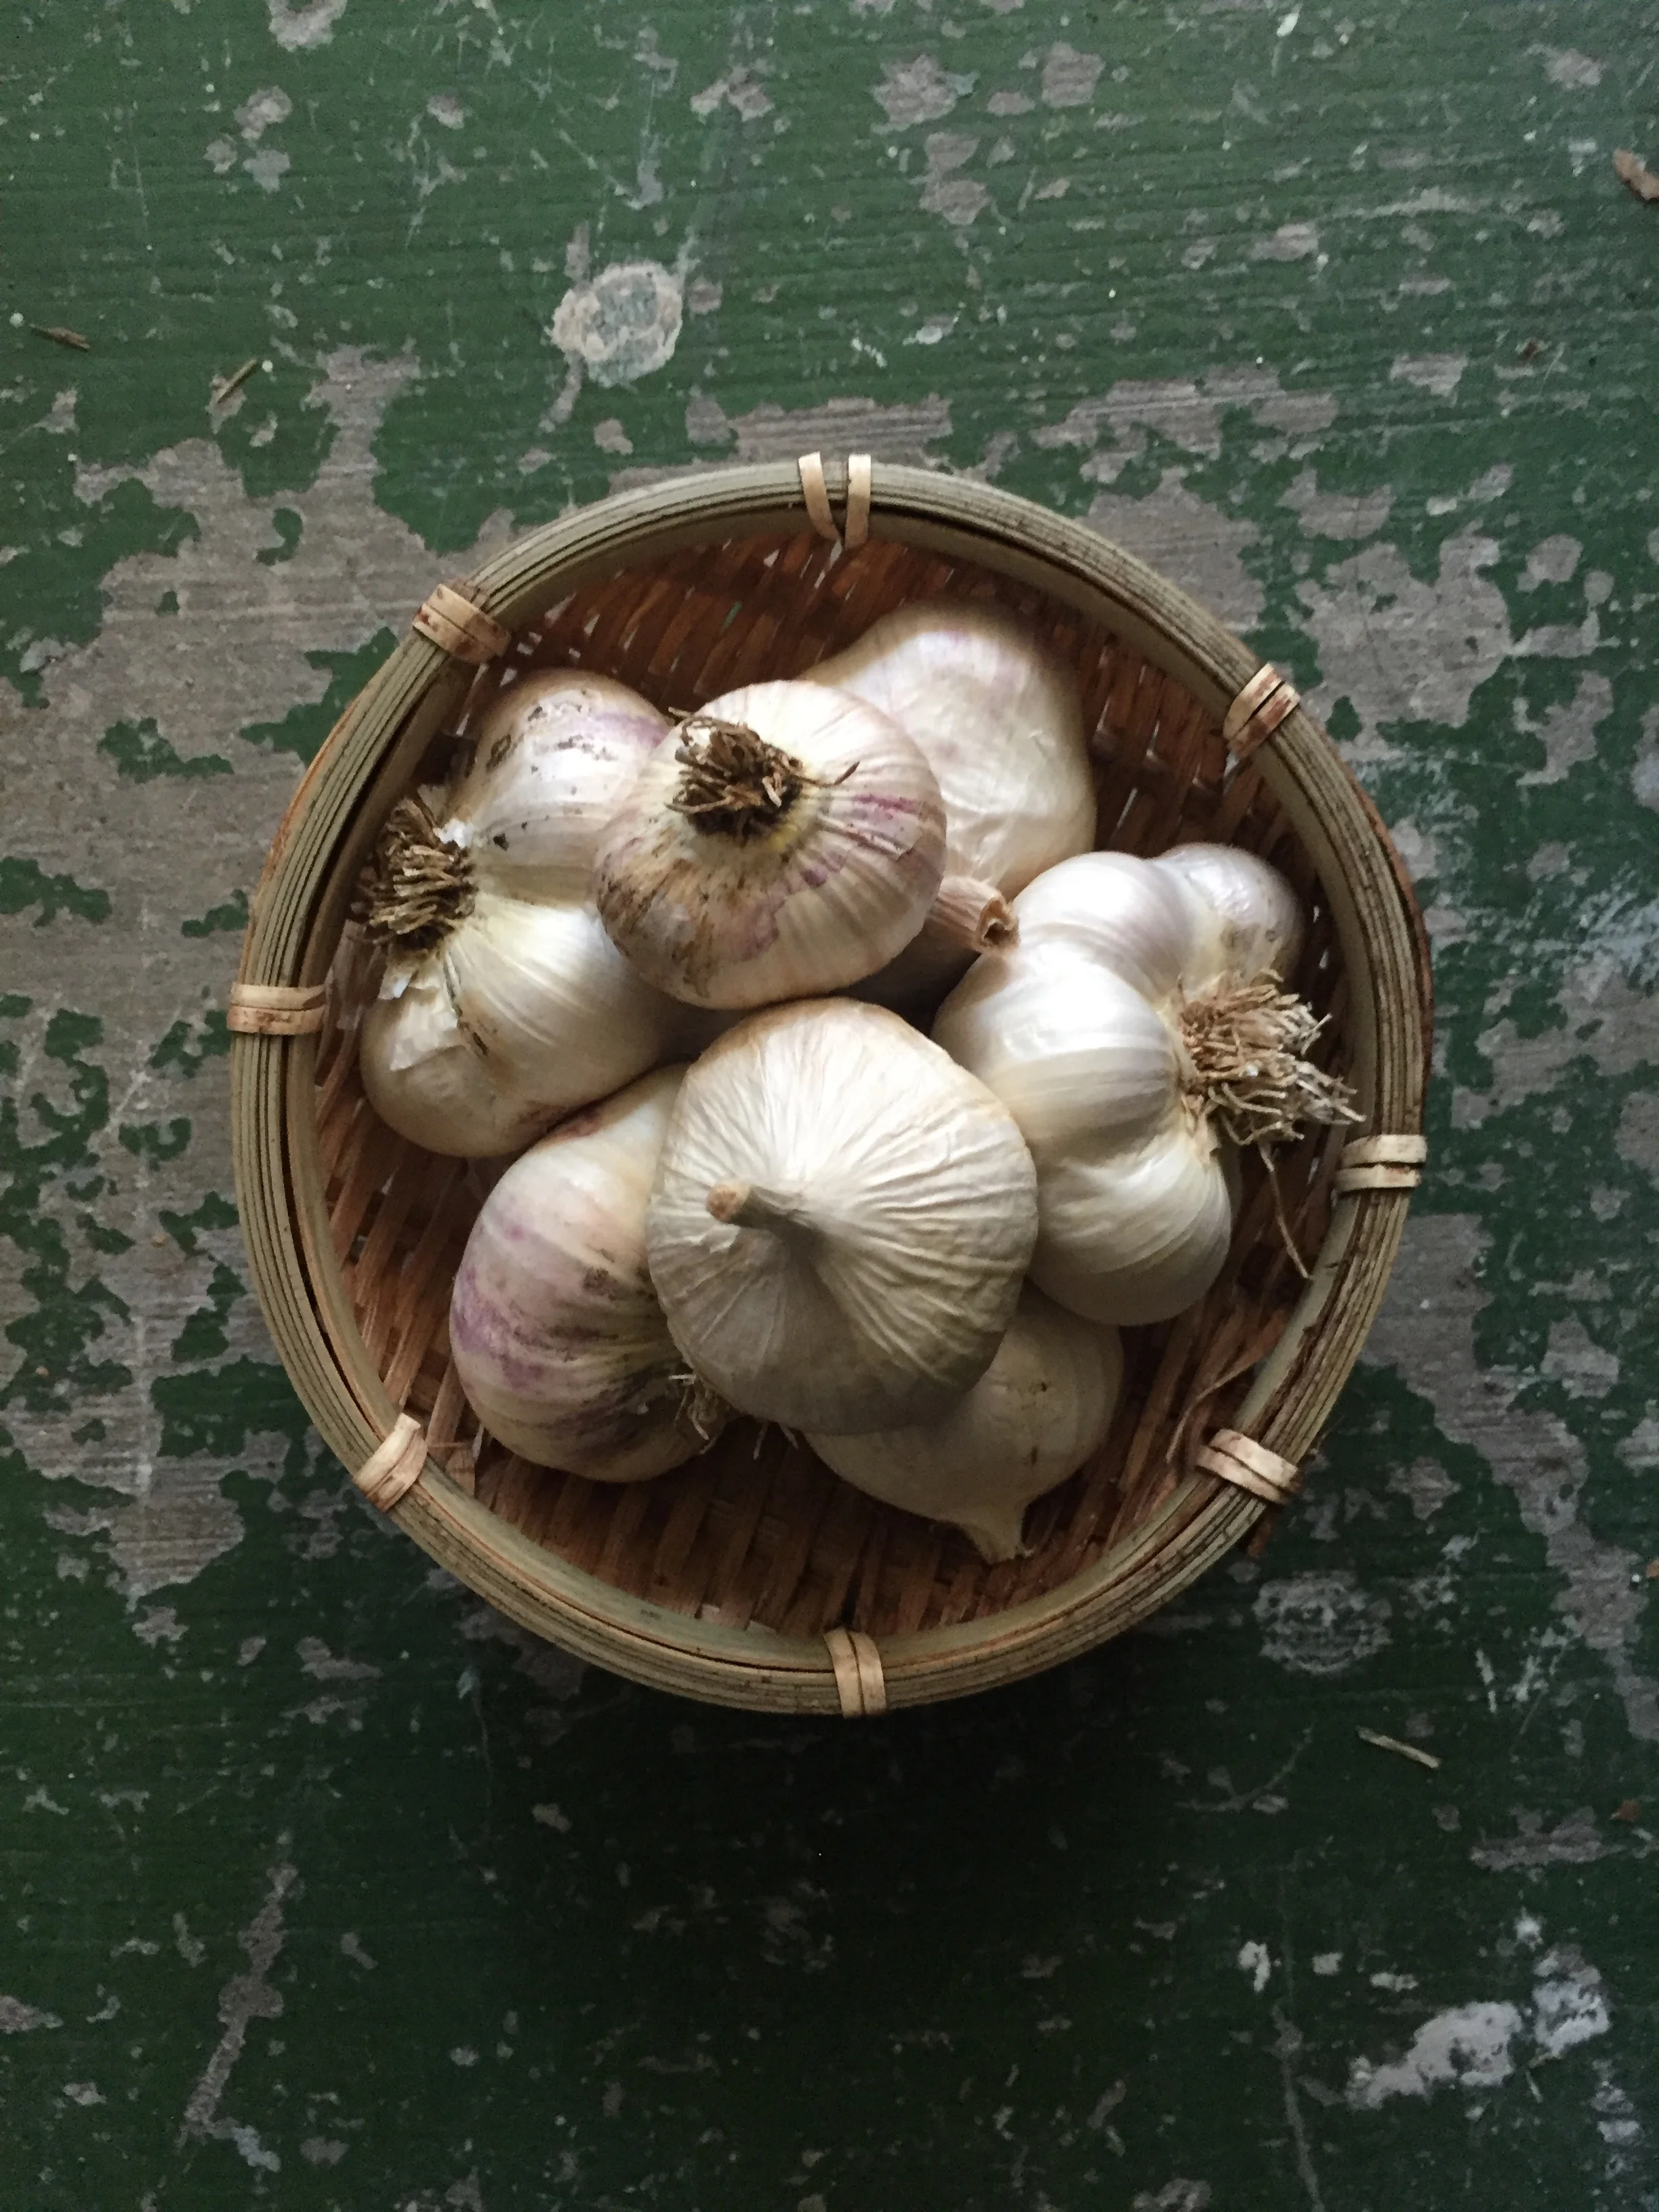
Our Very First soft-neck garlic Harvest from the garden
With the recent Christopher Ranch controversy, I honestly can't tell you what type of garlic I grew other than the fact that it was a soft-neck variety that found its way from the grocery store into my pantry. It is unfortunate that most grocery stores will only go as far as labeling it as "garlic" when there are so many different soft/hard-neck varieties out there.
Although the garlic cloves from our first harvest was put in ground in early March, we decided to pull them early because we were lacking real-estate in the garden and needed to reclaim some containers. These were pulled on June 19th, 2018... just a little over three months of growth! Next time, I'm going to leave these in so they fully develop, but they've found a permanent home in my kitchen garden for sure!

Step 1:
Harvest your homegrown soft-neck garlic
PRO-TIP: When harvesting your garlic, make sure you use a garden fork/knife to loosen the soil underneath the bulbs before pulling up your garlic. This will not only make it easier for you to pull the bulbs from the soil, it will also reduce any damage to the stalk to ensure your bulbs can cure properly.
Once you have pulled up your garlic, brush off as much soil as you can before putting them out to dry. Some people do a quick rinse with their hose before laying their garlic harvest out to dry, but I didn't want to risk any mold/mildew damage, so I decided I would just peel off the dirty wrapper later instead.
After you have cleaned your garlic, you can lay them out to dry to maximize full air-circulation or braid them and hang them somewhere dark and dry.

Step 2: Braid/plait your soft-neck garlic and hang to dry
I only grew 8-9 bulbs of garlic my first-time trying, but it took no effort at all! (I should've grown more, but I digress...) Though I had a small amount to work with, they still managed to hold together in a short-plait and I let them hang in between the rungs of a bookshelf I had converted for use as a drying rack. There are plenty of tutorials online that can show you how to do this! I recommend YouTube so you can follow along a tutorial of your choosing. Now go and learn something new! ;)
Let the garlic hang to cure for anywhere between 3 - 6 weeks.

Step 3: Once dry, trim roots and stalks, then peel the bulb
You should be able to tell the garlic is dry when the paper wrapper on the outside is crisp. After the garlic has cured for the recommended time, use pruners/scissors to trim off the top stalk of the bulb, though try to leave at least 1/4" - 1" length to prevent the interior cloves from drying out. Then peel off the dirty outer wrapper to clean up the bulb. Make sure you trim the roots down so it is tidy and they are ready for storage!
FUN FACT: It is believed that you can tell the difference between Chinese-grown VS. California/domestically-grown garlic by the presence of root "stubble" at the bottom of the bulb.


Step 4: Store away in your pantry in a dark and dry place
After your garlic has been cured and stored away properly, it can last anywhere from 6 - 8 months... though if I'm putting it all out there, I may as well let you know this amount barely lasted us two months, LOL!
There's nothing more amazing than having FRESH garlic to cook with VS. what you find at the store. Homegrown garlic cloves were firm and full of moisture, where the seed stock that came from the grocery store was dry in texture and lacking flavor in comparison to the homegrown equivalent.
Have you grown garlic at home? Leave a comment and let us know which varieties you like to grow and cook with!